Newsletter Subscribe
Enter your email address below and subscribe to our newsletter

 ByJohn A
Launching a clothing brand is exciting, and it’s also where many founders make their most expensive mistakes. They order too many styles, too many sizes, and too much stock before they know what customers want. Cash gets tied up in boxes of unsold inventory, and the brand runs out of money before it finds its footing.
A first apparel collection doesn’t have to be big or costly. It has to be focused, tested, and planned around real numbers. This guide walks you through planning your first collection step by step, so your money goes into pieces that sell rather than pieces that sit.
Before choosing garments or fabrics, get specific about who you’re selling to. “Everyone who likes streetwear” is too broad to plan around. “College students who want relaxed, everyday basics with a strong graphic identity” gives you something to build on.
Answer three questions first:
Clear answers stop you from buying pieces just because they look good in a mood board. Every item should have a reason to exist.
Many new founders design first and price later, then discover the collection costs twice what they planned. Reverse that order.
Decide the total amount you can afford to lose without hurting your personal finances. Then split it across the real cost categories of a clothing line:
Set a budget for each line before you spend. If sampling eats into your production budget, you’ll feel it immediately, not at the end.
The most reliable way to control costs is to limit the number of products. A small collection is easier to produce, photograph, market, and store. It also gives you cleaner data about what customers like.
A practical starting point is three to six core pieces, for example:
Limit your colors too. Two or three well-chosen colorways look more intentional than eight, and they cut the number of SKUs you need to manage. Every extra color and size multiplies your inventory risk.
Not every garment deserves to be in your first drop. Evaluate each one against a simple filter:
Sweatshirts are a popular first product for good reason. They have a high perceived value, they photograph well, and they give you plenty of room for graphics, embroidery, or subtle branding. They also justify a higher price than a basic tee, which helps margins when you’re producing small quantities.
Sourcing is where a first collection is won or lost. There are two main routes: full custom cut-and-sew manufacturing, or decorating existing garments. Custom manufacturing offers total control, but it usually comes with high minimums and long lead times. For most first-time founders, decorating ready-made garments is the smarter path because it lowers risk and speeds up your launch.
When you buy garments in larger quantities, the price per unit typically drops, which matters once you know a style sells. Many brands begin with small test runs and then move to bulk orders through suppliers of wholesale crewneck sweatshirts as demand becomes clearer. Just make sure you understand minimum order quantities, size availability, and restock reliability before you commit.
When evaluating suppliers, ask about:
A quick tip: request a single garment in the size you’ll sell the most before placing a bigger order. Handling the fabric yourself tells you more than any product page.
Starting with undecorated garments is one of the most budget-friendly ways to launch. You skip pattern-making and fabric sourcing, and you can put your money into design and branding instead. It also lets you test how your artwork looks on real fabric before scaling.
For example, many first-time apparel brands choose Jerzees sweatshirts wholesale for screen printing or embroidery because the fit, fabric quality, and sizing consistency are already proven. That allows you to focus your budget on graphics, placement, and print quality rather than spending additional time and money on garment development.
Consider these decoration options based on your budget:
Match the method to your volume. A 50-piece run rarely justifies the screen setup costs that make sense at 300 pieces.
See also: Customer App or Operating Platform: What Should a Business Build First?
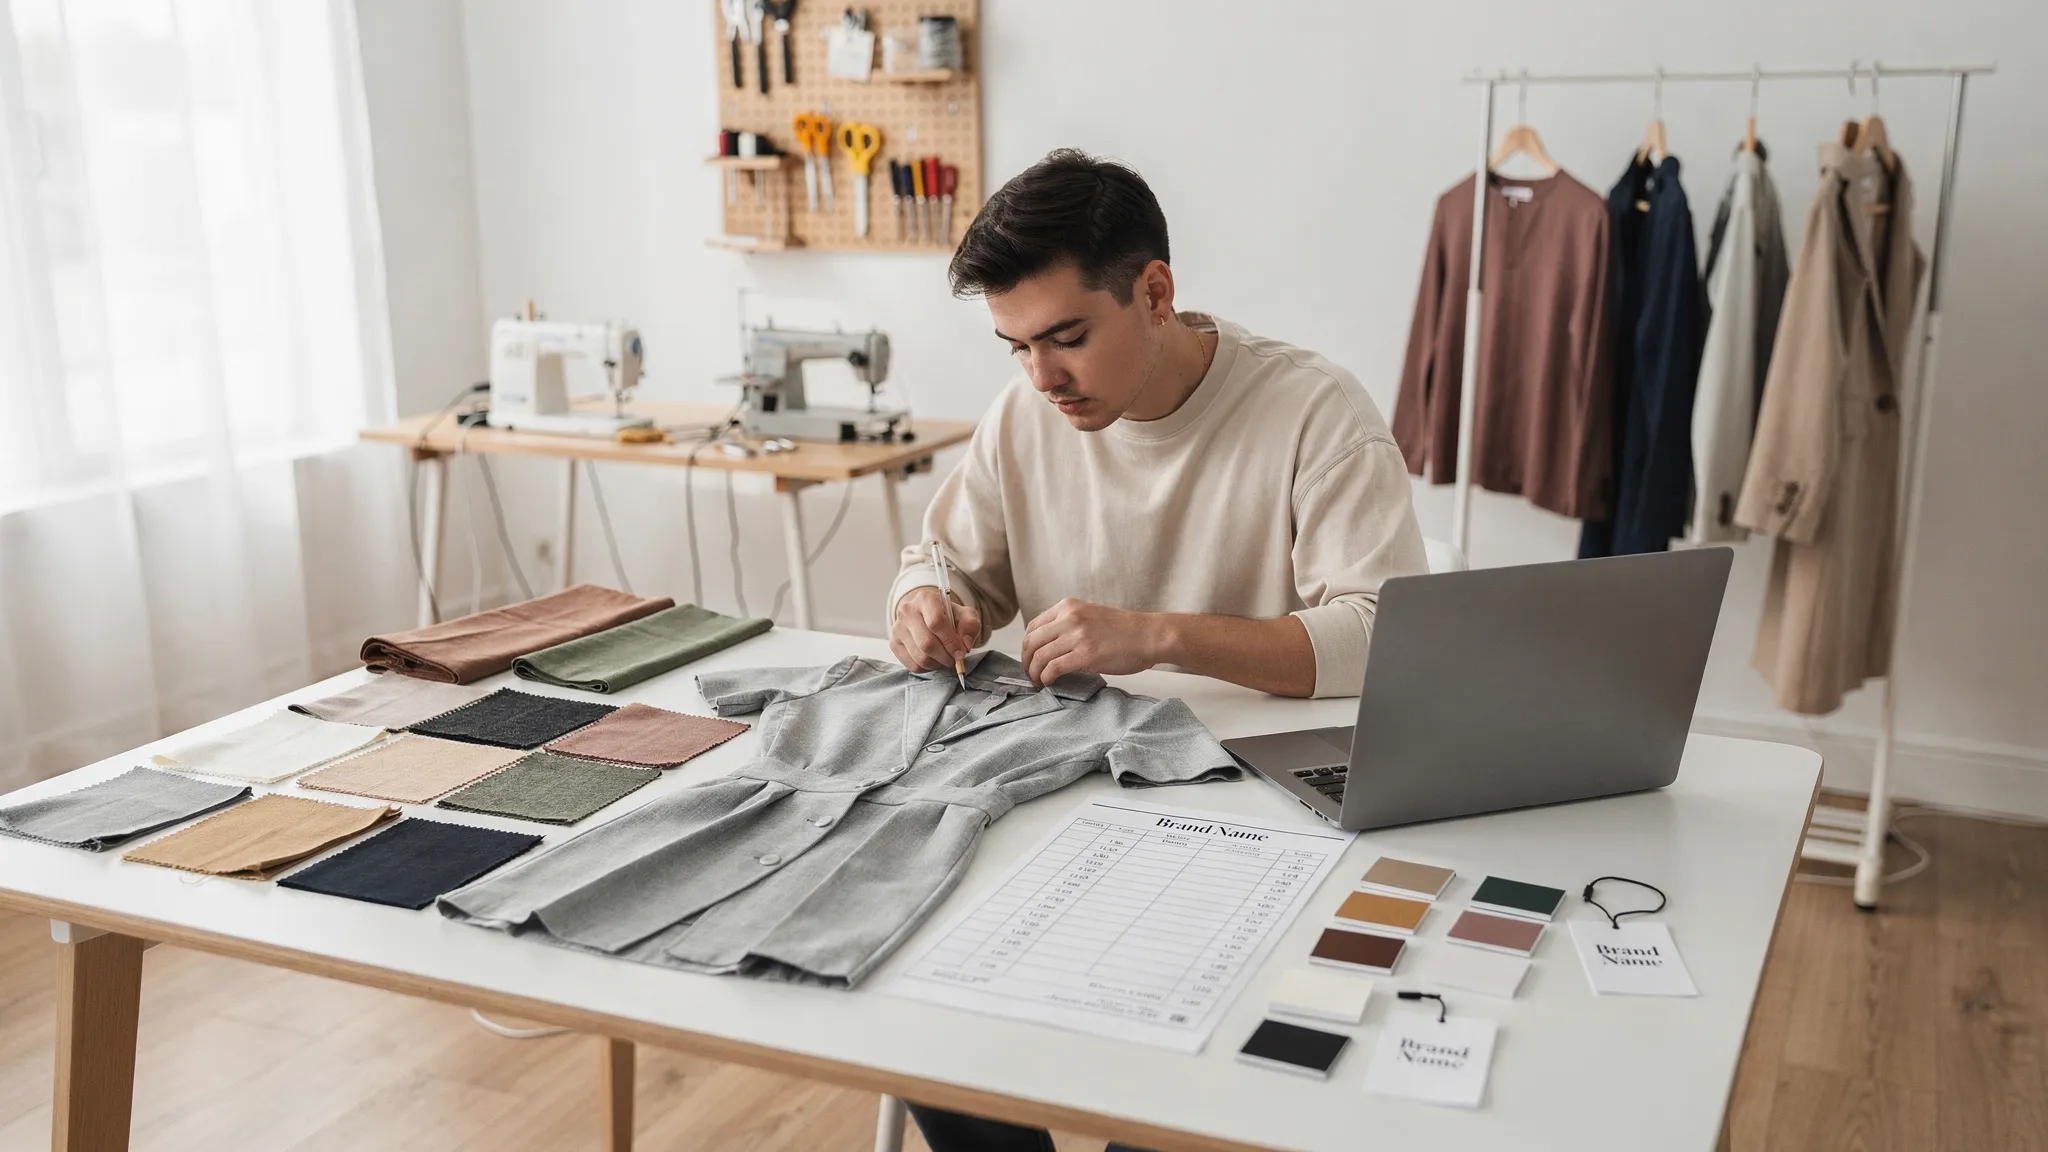
Sampling feels like an expense you can skip, but it’s cheaper than fixing a whole run. Always approve a physical sample before mass production. Check the print or embroidery placement, color accuracy, wash durability, and fit across at least two sizes.
Pair that with a simple tech pack, a document that describes your design so nobody has to guess. Even a basic one should include:
A clear document reduces errors, and errors are what turn a modest budget into an overspent one.
A collection can sell out and still lose money if the pricing is wrong. Calculate your landed cost per unit, which includes the garment, decoration, labels, packaging, and inbound shipping. Then add the costs that come after production: payment processing, outbound shipping, returns, and marketing.
Here’s a simple example. If your finished sweatshirt costs $22 to produce and package, and you sell it at $65, you have room to cover ad spend and fees and still keep a margin. If your cost is $35, the same price leaves almost nothing. Run the math on every product before you finalize the collection, and drop or redesign anything that doesn’t work.
Rushed launches cost more because they lead to expedited shipping, skipped samples, and quality compromises. Work backward from your launch date and leave room for delays.
A typical timeline for a small collection looks like this:
Production and shipping delays are common, so a two-week cushion is cheap insurance.
Watch for these traps:
It varies widely, but many founders launch a focused collection of three to six products with a few thousand dollars by using ready-made garments and limited runs. Costs rise with custom manufacturing and higher quantities.
Three to six core styles is a strong starting range. It’s enough to give customers choices without stretching your budget or your attention.
Pre-orders are a smart way to validate demand and fund production. Be clear about timelines so customers know when to expect their items.
Producing too much of too many styles before testing demand. Start small, learn from the sales data, and reorder what sells.